Commercial car protectors often come with handy pockets that hold tools and little parts while you work. You can make such a pocket yourself by pinning up the bottom edge of your folded blanket or pad.
Buying the right plugs
If you haven’t already done so, enter your vehicle’s make, model, year, and the number of cylinders on a copy of the Specifications Record in Appendix B.
If your owner’s manual has the model number of the plug you need and the size of the gap, enter that information, too. If not, take the record with you to the store and use their spec sheet to fill in the necessary information.
At the auto supply store, don’t just ask a salesperson which type of plug you should buy — you have a very good chance of getting the wrong one. First look up the specifications yourself, and then ask for the plug by number. If you’re unsure, have a salesperson double-check it for you.
Look up your vehicle by make and model under the proper year on the spec sheet at the store. (For example, for my first car, Tweety Bird, a “previously owned” 1967 Mustang, I looked under 1967, then under Ford, then under Mustang, then under “200 cu. in. 6 Cyl.
Eng. (1 bbl.)” — which means that Tweety had an engine displacement of 200 cubic inches, a 6-cylinder engine, and a single-barrel carburetor.) Then write down the following information from the spec sheet in the appropriate columns on your Specifications Record.
Removing old spark plugs
Before you undertake any of this work, re-read the section “Deciding if you should do the job yourself,” and if your vehicle fits even one of those descriptions, don’t try to do the work in this section.
It’s better to pay a professional than to risk damaging your engine or ECU! One way to royally confuse yourself and turn the relatively simple task of changing spark plugs into a nightmare is to pull all your spark plugs out at one time. To keep your sanity and to avoid turning this job into an all.
weekend project, work on one spark plug at a time: Remove it, inspect it, clean it, and — if it’s salvageable — gap it. Then replace it before you move on to the next spark plug in cylinder sequence order. To maintain the proper firing order, each spark-plug wire must go from the spark source to the proper spark plug.
Therefore, only remove the wire from one plug at a time, and don’t disconnect both ends of the wire! This way, you won’t ever get into trouble — unless a second wire comes off accidentally.
You may work more comfortably by adding a couple of extensions between the handle and the socket so that you can move the handle freely from side to side without hitting anything. Add them in the same way you added the socket to the handle. If a plug is hard to reach, the sidebar “Getting to hardto-reach plugs” gives you additional tips.
It’s okay to exert some strength; just be sure your socket is securely over the plug and that the ratchet is at the same angle as the plug to avoid stripping the threads on the plug or in the spark plug hole in the engine head.
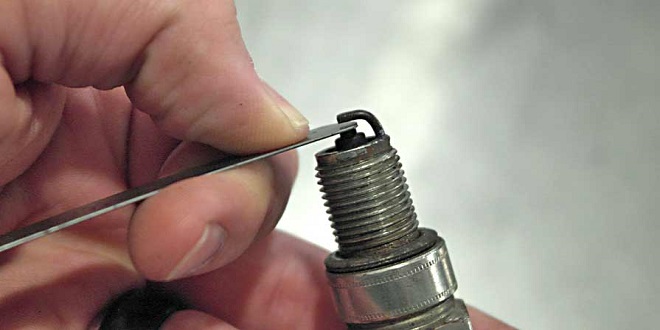
You may have some difficulty loosening a spark plug for the first time. Grease, sludge, and other junk may have caused the plug to stick in place, especially if it’s been a long time since it was changed.
Last word
If it feels stuck, try a little spray lubricant. You’ll feel better knowing that after you’ve installed your new plugs by hand, it will be a lot easier to get them loose the next time. So persevere. I’ve never met a plug that didn’t give up and come out, eventually.